Service Manager can automatically create copies of your invoices in Sage. The process you need will vary depending on the version of Sage that you're using.
To export invoices to Sage online versions
- From the home page, choose Invoices
-
Choose the Invoice Run tab
-
Find and select the correct invoice run by using the search window
-
Choose the Post tab

-
You can now post individual invoices by clicking the Post link or right clicking on an invoice
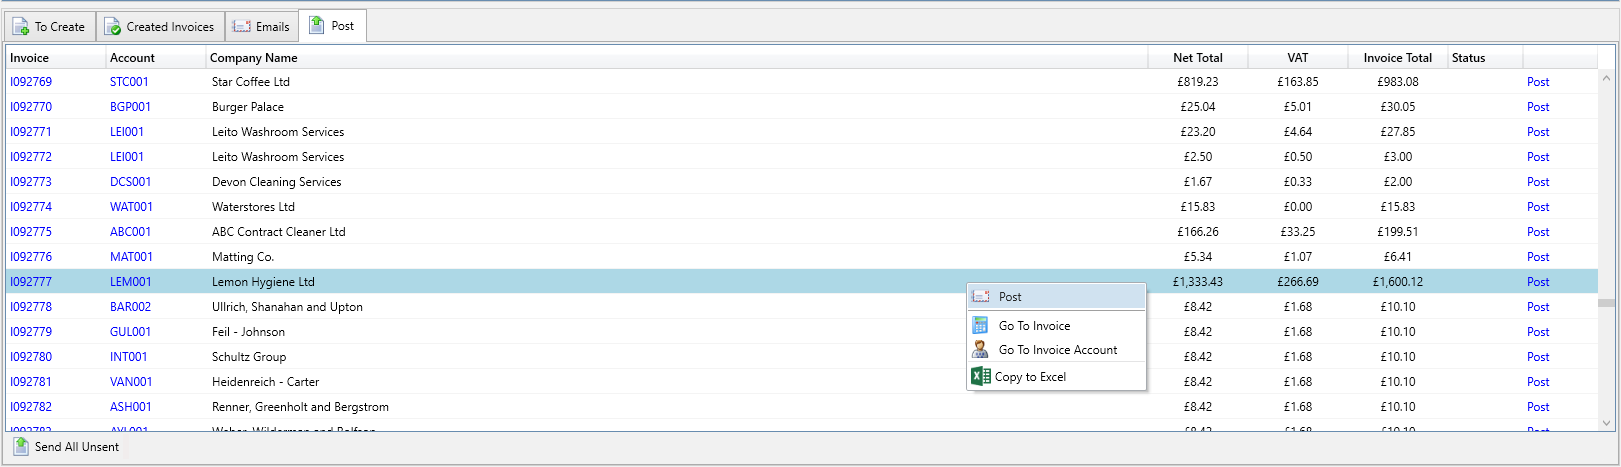
- Or you can post all invoices by clicking on Send All Unsent
- If the post was successful the Status is updated to Ok, if there is an error the Status field will say Failed. You can clicked on the Failed link to see any errors for that invoice. You should correct the error and then try posting the invoice again.
To export invoices to Sage 50 versions
- From the home page , choose Invoices
-
Choose the Invoice Run tab
-
Find and select the correct invoice run by using the search window
-
Choose the Options button, expand the Export sub menu and then select "Csv - By Default Nominal"

-
In the popup, choose where you want to save the exported CSV file.
If you want to make any amendments to the file such as invoice reference or description you can open the exported file in Excel to make changes. -
Open Sage and login
-
In Sage, choose File and then Import...
At this point, you may be prompted to close any open windows and other users that will need to logout. -
In the import popup, proceed through the pages to select and import your csv file:
- Welcome - You can click Next straight away.
- Data Type - Select Audit Trail Transactions then click Next.
- Data Source - Select the Comma-separated (*.csv) option, then click the Browse... button to select the file you exported from Service Manager.
- Field Mappings - Service Manager exports the fields in the same order as Sage wants them, so you just need to select A, B, C and so on as in the screenshot below. You can save this map to a file which will then be loaded automatically by sage when importing Audit Trail Transactions in the future.

- Import - After you have selected your field mappings and click Next, you will be shown a list of records that were imported successfully and any records with errors
- The newly imported Sales Invoices will appear in the Transactions module, underneath the Activity section for the associated Customer and also under the Activity section for the associated Nominal Codes.